How to record Stardew Valley gameplay
There are several different ways of recording Stardew Valley gameplay, but depending on where you’re playing – either on PC and macOS or on a console – what you’ll need to do will be different.
As someone who records gameplay on a regular basis, I thought I’d show you how you can record Stardew Valley gameplay. I’ve made a quick table summarising the best methods by platform, and you can find more details about how to set them all up by scrolling down.
| Platform | Easiest Method | Advanced Method |
| PC | NVIDIA Broadcast | OBS Studio |
| macOS | Quicktime Player | OBS Studio |
| PS/Xbox | Built-in tools | Capture Card with OBS |
| Switch | – | Capture Card with OBS |
On PC and macOS
If you’re playing on a PC or macOS, there are several ways you can record your Stardew Valley gameplay. The majority of creators record through a free programme known as OBS (Open Broadcaster Software), which is functional on both Windows and Mac computers, while others prefer to use tools like Quicktime Player on macOS and NVIDIA Broadcast on PC.
Using OBS on PC and macOS (More complicated but great for streaming)
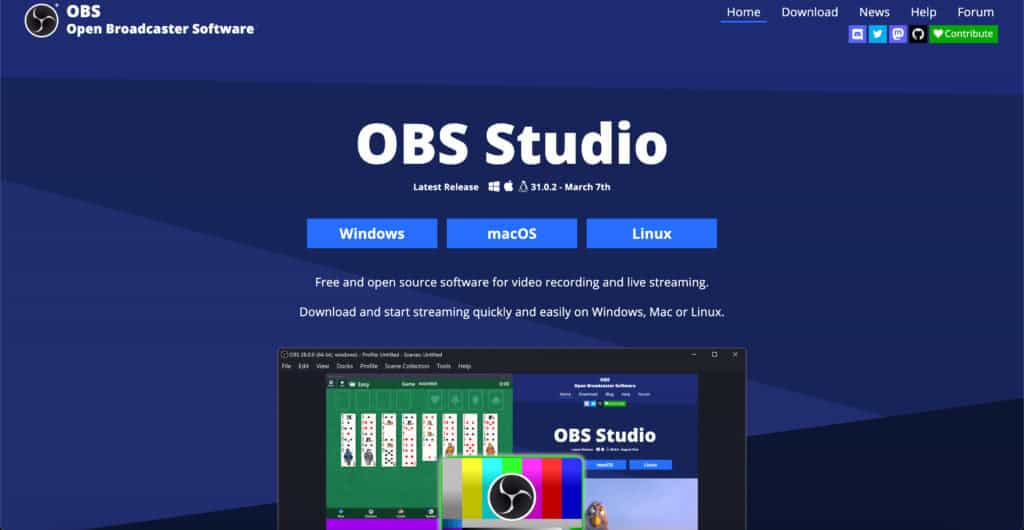
OBS is the most popular software for streaming and recording gameplay. It works on both PC and Mac, though setting it up may take a little tweaking.
This can be fiddly and a little troublesome, as well as overwhelming for anyone who isn’t tech-advanced. So if you’re someone who wants to avoid this headache, try using NVIDIA Broadcast on PC or Quicktime Player on Mac.
To use OBS, follow these steps:
Step 1: Download OBS and install OBS
The first thing you’ll want to do is install OBS by visiting the website, here. Download the version for your device and then follow the installation instructions. If on Mac, just drag the file into your Applications folder.
Step 2: Open OBS and configure the settings
When you launch OBS for the first time on your device, it’ll trigger the Auto Configuration Wizard, which can configure and optimise your OBS recording and streaming settings for your device and internet.
If you need to change them later, you can do so by going to:
- On PC: File > Settings
- On macOS: OBS Studio > Preferences
Then find the recording and streaming settings and change them to how you’d like them.
Step 3: Set up your Source and Scenes
With your settings done, you’ll need to add Scenes and Sources. Sources are what you display to viewers, like text or images or video, and Scenes are a selection of grouped Sources.
To start, add a scene by clicking the + under the Scenes box. Then add a new Source by clicking the + button under the Source box. When prompted, you’ll need to select either:
On PC:
- Game Capture (Captures a specific game)
- Window Capture (Captures a specific Window)
On macOS:
- macOS Screen Capture (This captures your entire screen)
- Deprecated > Window Capture (This allows you to capture selected windows, but it can be a little buggy)
Just note, that if you are playing on macOS, you may want to switch off ‘Game Mode’. I found that running OBS while Game Mode was on caused overloading issues and impacted the recording performance, leading to a stuttery and laggy recording.
If you want to record with a facecam, you’ll also need to add a Video Source and select your camera or camera application if using something like NVIDIA Broadcast. If you want to add a microphone, make sure to add your microphone as a Video Output source.
Step 4: Start recording
When ready, simply hit the ‘Start Recording’ button to start your recording, and then click the ‘End Recording’ button to end your recording. It’s that simple!
But, there are a few more tips I’d like to offer:
- It’s handy to have a second monitor so you can play the game on one and keep an eye on OBS on your second to ensure things are running smoothly and without issue.
- If you’re recording your screen or display, remember to avoid opening anything that may leak personal details while recording.
I’ve got gameplay but no audio. What do I do?
If you’re not getting any audio with your recording, look for an option to capture audio when in your Source’s settings. I found that I sometimes had to enable that before the sound was recorded. If that is enabled and you still aren’t getting any sound, check the Sound Mixer.
If you don’t see your Source’s Sound Mixer rising showing volume, hit the Sound Mixer’s settings by clicking the two small cogs in the bottom corner of the Sound Mixer box, and then change the Audio Monitoring to ‘Monitor and Output’.
Quicktime Player on macOS (Simplistic and perfect for recording only)
While playing on macOS, you can also record Stardew Valley gameplay on your display using Quicktime Player. To do this:
- Open Quicktime Player through the Applications screen.
- Click File > New Screen Recording.
- Select ‘Record Entire Screen’.
Quicktime Player should automatically record your Stardew Valley gameplay and audio, so you shouldn’t have to change any settings. This is a great option for someone who wants something simple and ready to start playing without having to fiddle with settings.
On Consoles
If you want to record Stardew Valley gameplay on your console – Xbox, PlayStation or Nintendo Switch – things are going to be very different. Both PlayStation and Xbox have internal capture recording tools, but the Nintendo Switch doesn’t. All three consoles work with capture cards, allowing you to record gameplay externally.
Internal capturing (Simplistic and cheaper)
As mentioned, both PlayStation and Xbox consoles have internal programmes to record gameplay. To start recording your Stardew Valley gameplay on either console, follow these instructions:
On PlayStation
- Click the ‘Share’ or ‘Create’ buttons on your controller.
- Select ‘Start New Recording’ to start a recording.
- Click the ‘Share’ or ‘Create’ buttons on your controller.
- Select ‘End Recording’ to stop the recording.
On Xbox
Xbox consoles can currently only record a maximum of three minutes due to the files being saved to your console storage. However, you can record for longer by purchasing an external drive and changing the recording destination to your external drive. Just note that the drive will need to be formatted for Media before it can be used.
- Hold the Xbox button on your controller.
- Then choose ‘Capture Options’.
- Select the length of time you want to capture.
Capture Cards (More expensive but works for streaming too)
Internal capturing is great for someone new to recording gameplay, but since it lacks options and isn’t available for Nintendo Switch, many instead turn to capture cards, which can also be used for streaming. Most capture cards must be connected to your PC and use OBS or similar programmes to record gameplay – take a look at my instructions above for how to install OBS.
There are two types of capture cards; internal which are connected to your PC’s motherboard and external which are plugged into your PC via USB connections. Both capture cards must be connected in to your console via HDMI cable with a second HDMI connecting out to the television or monitor that you want to play on.
If you’re using OBS, remember that you’ll need to add your capture card as a Source to record gameplay.
Which capture card should I use for Stardew Valley gameplay?
There are dozens of different capture cards available, but I personally use Elgato. Some of their capture cards include:
- Game Capture NEO (External, compatible with Apple M1)
- HD60 X (External, compatible with Apple M1)
- 4K X (External, compatible with Apple M1)
- 4K PRO (Internal, Windows only)
I suggest reading up on the supported resolutions for all of the capture cards, as some can only record in up to 1080p and others 4K, but most allow 4K passthrough, which means you can play in 4K resolution.
For Stardew Valley gameplay, you likely won’t need anything more than 1080p, but if you also want to record more graphically intensive games, you may want something that supports up to 4K capture.
That’s it! Now you know how to record Stardew Valley gameplay and can start making videos and other content.

